How to Program Garage Door Remote Safely
A new remote should make getting in and out of your garage easier, not leave you standing in the driveway pressing buttons. This guide explains how to program garage door remote controls for most modern openers, what to check before you begin, and when a pairing issue may point to a larger opener problem.
Before You Program the Remote
Start by confirming that the remote is compatible with your garage door opener. Compatibility matters more than appearance. A remote that looks similar to your old one may use a different frequency, security system, or programming method.
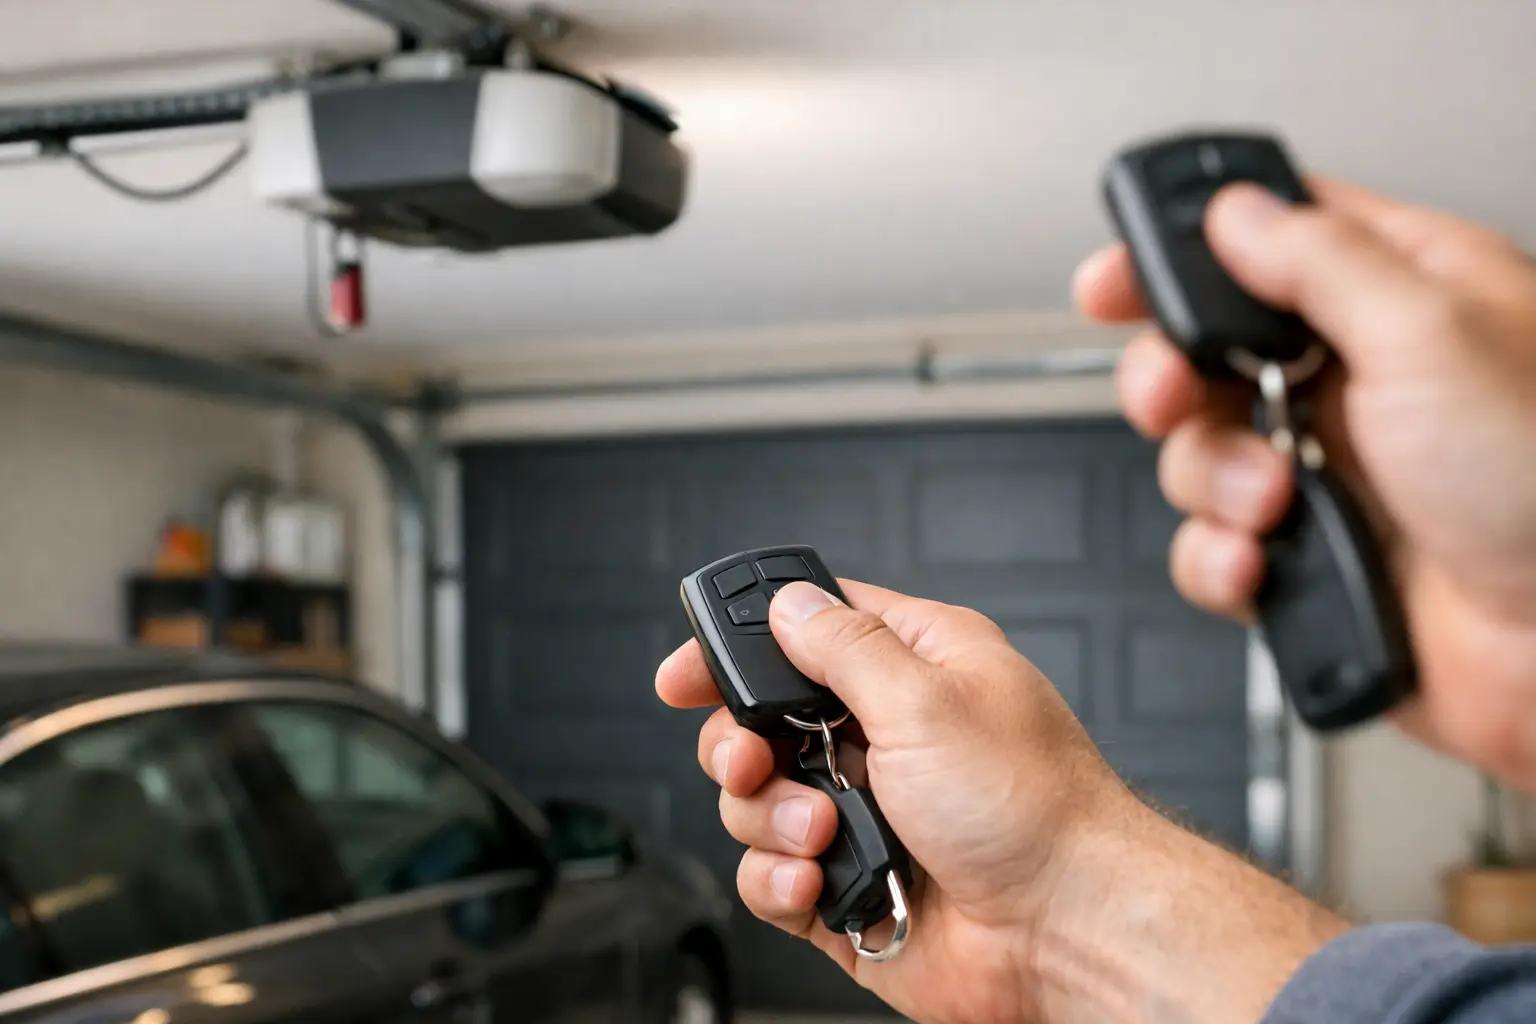
Check the motor unit mounted on the ceiling of your garage. Most openers have a label showing the manufacturer and model number. You may also find a colored Learn, Program, or Smart button on the back or side of the motor housing. The button color can help identify the opener generation, but the model number is the more reliable reference.
Keep the garage door in full view while programming, and make sure no people, pets, or vehicles are in its path. Programming a remote normally does not require touching the door, springs, cables, or tracks. Those components are under significant tension and should be left to a trained technician.
If your existing remote still works, keep it nearby. It can help you compare button functions and confirm that the opener itself is responding properly.
How to Program a Garage Door Remote With a Learn Button
Most garage door openers installed in the last two decades use a rolling-code system and a Learn button. Rolling codes change after each use, which helps prevent someone from copying a fixed signal and gaining access to your garage.
The general process is straightforward, though the timing varies slightly by manufacturer.
1. Locate the Learn or Program Button
Look on the ceiling-mounted opener motor unit, usually near the antenna wire, light cover, or terminal connections. On many models, you may need to remove the light lens to reach the button. Do not confuse the Learn button with the adjustment controls for travel limits or force settings.
Press the Learn button once and release it. A small LED may illuminate, or the opener light may blink. This usually places the unit in programming mode for about 30 seconds.
2. Press the Remote Button You Want to Use
Within that programming window, press and hold the button on your remote that you want to operate the door. Depending on the opener, you may need to hold it for a few seconds, release it, and press it again.
The opener light may flash, click, or you may hear the motor unit make a small sound when it accepts the remote. Those signals mean the opener and remote have paired.
3. Test the Remote From a Safe Position
Step back, make sure the doorway is clear, and press the programmed button once. The door should move. Press it again to stop or reverse the door only if necessary and safe to do so.
If the remote works only from a few feet away, replace its battery before assuming the remote or opener has failed. Weak batteries are one of the most common reasons a garage door remote seems unreliable.
Programming an Older Garage Door Opener
Older openers may not have a Learn button. Instead, they use small DIP switches inside the remote and on the opener receiver. These switches create a fixed code that must match exactly.
To program this style of remote, open the battery compartment and look for a row of tiny switches. Then locate the matching switch panel on the opener motor unit or separate receiver. Set the switches on the remote to the identical up-and-down pattern.
Fixed-code systems can still work well, but they are less secure than modern rolling-code openers. If your home has an older system and you are concerned about security, reliability, or finding compatible remotes, an opener upgrade may be worth considering. The right choice depends on the condition of the door, the age of the operator, and how you use the garage every day.
Universal Remotes Need an Extra Step
Universal remotes are convenient, especially for households with more than one brand of opener. But they are not automatically compatible with every operator. Before buying or programming one, verify the remote supports your opener’s brand, model family, and manufacturing year.
Many universal remotes require you to select a brand code or press a sequence of buttons before pairing it at the motor unit. Follow the instructions that came with the remote carefully. Guessing through button combinations can accidentally clear a remote’s programming or make troubleshooting harder.
If a universal remote will not pair, the issue may be compatibility rather than a faulty opener. This is especially common with older units, commercial operators, and models that use proprietary security technology.
Programming a Vehicle’s Built-In Remote System
Many vehicles have built-in garage door controls in the visor, overhead console, or rearview mirror. These systems often need two stages of programming: first, the vehicle learns the signal from a working handheld remote; then, the vehicle is paired with the opener’s Learn button.
Begin with the vehicle parked outside the garage. Hold the existing working remote close to the vehicle’s built-in control and follow the vehicle manufacturer’s instructions to train the chosen button. Once the vehicle confirms it has learned the signal, press the opener’s Learn button and then press the programmed vehicle button as directed.
Do not attempt this process while the car is moving or while the garage doorway is blocked. If the built-in control worked before and suddenly stops, check the vehicle instructions before resetting it. Some systems require a full reset only when changing homes or replacing the opener.
Why a Garage Door Remote Will Not Program
When programming fails, slow down and identify whether the problem is the remote, the opener, or the door system. Repeating the same steps over and over rarely fixes the underlying issue.
Start with a fresh battery and make sure you are pressing the correct button. Then confirm the wall control inside the garage operates the door. If the wall control does not work either, the problem is likely not the remote. It could involve power to the opener, a tripped outlet or GFCI, damaged wiring, a failed logic board, or an opener in lock or vacation mode.
A remote may also fail to work if the opener’s memory is full. Some models can store only a limited number of remotes, keypads, and vehicle controls. Clearing memory can resolve that issue, but do it carefully. On many units, holding the Learn button for several seconds erases every programmed device, including family remotes and keypads.
Interference is another possibility. LED bulbs not rated for garage door openers, nearby radio equipment, and damaged opener antennas can reduce range or prevent consistent operation. If the remote works when you stand directly under the motor but not from the driveway, interference or an antenna issue is more likely than a programming error.
Do Not Ignore Door Movement Problems
A remote can be programmed correctly while the door itself still operates poorly. If the opener hums but the door does not move, the door reverses unexpectedly, the chain or belt jerks, or the door feels unusually heavy, stop using the opener until the cause is identified.
The opener is designed to move a balanced garage door, not force a heavy or damaged door through a problem. Broken springs, worn rollers, bent tracks, and off-track sections can strain the opener and create a safety risk. Continuing to run it may turn a repairable problem into a larger repair.
For Houston-area homeowners, heat, humidity, and frequent daily use can also expose worn batteries, sensors, and opener components faster than expected. A quick inspection and honest diagnosis can save time when the issue is more than a remote.
When Professional Help Makes Sense
Call a garage door professional if the remote will not pair after you have confirmed compatibility, replaced the battery, and tested the wall control. It is also wise to schedule service if you have lost all remotes, moved into a home with unknown access codes, or need old remotes removed from the opener’s memory for security.
Ranger Garage Door Repair can help identify the right remote, program compatible controls, inspect the opener, and make sure the door is operating safely. The goal is not to sell you equipment you do not need. Sometimes the answer is a battery or a simple reset; other times, an aging receiver or failing opener needs attention.
A working remote is a small convenience that protects a bigger one: safe, dependable access to your home. Take a few careful minutes to program it correctly, and if the opener gives you mixed signals, have the system checked before it leaves you stuck outside or with a door that will not close.


